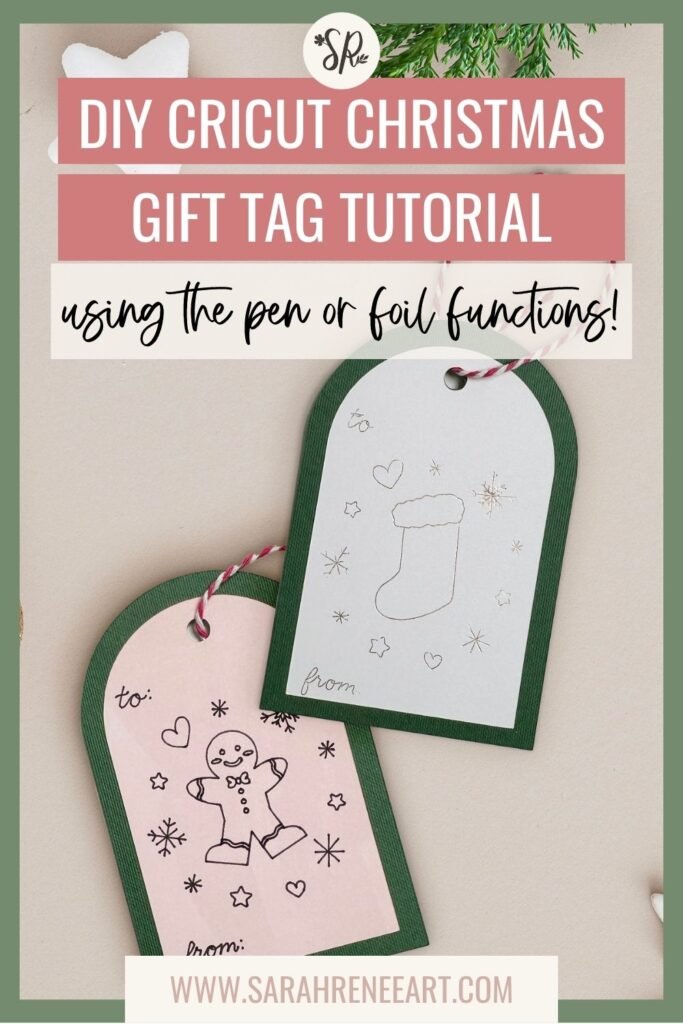
Here’s a fun Cricut holiday tutorial to add a homemade touch to all of your wrapped gifts! I’ll show you how to create these festive Cricut Christmas tags that feature hand-drawn holiday motifs such as: gingerbread man, stocking, snowman, gift box, and tree. You can choose to make either foiled tags or drawn tags, depending on your preference. I made both version and they both look great!
This page may contain some links that are affiliate links - there is no extra cost to you, but I will receive a small portion of the profit if you purchase from these links. I only link items that I love or use myself. Thanks so much for your support of my business! :)
Materials:
Before we get started, make sure you have the following materials ready:
- Smooth, light-colored cardstock for drawing or foiling on
- backer cardstock, darker can be patterned or textured
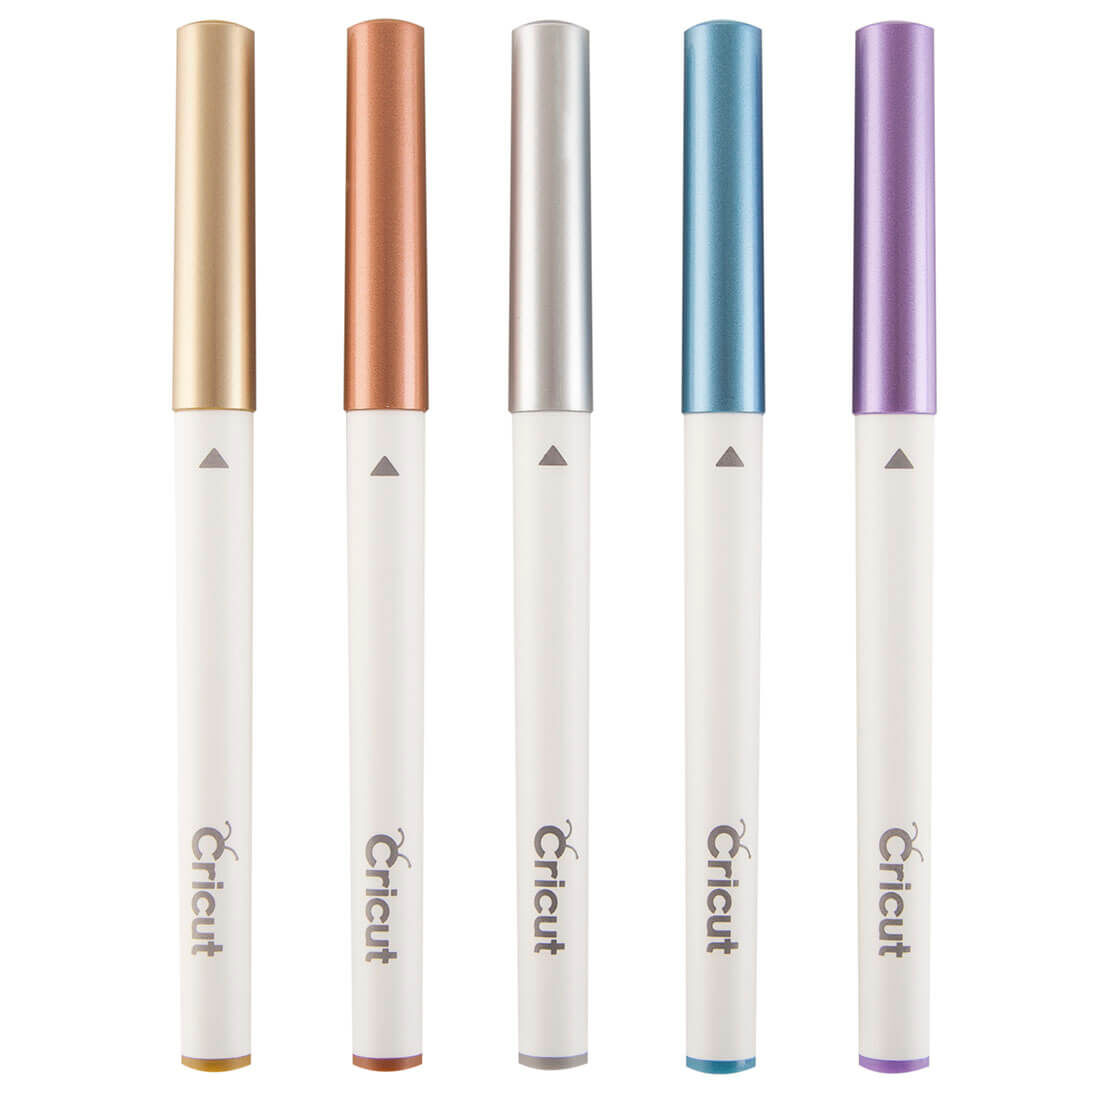
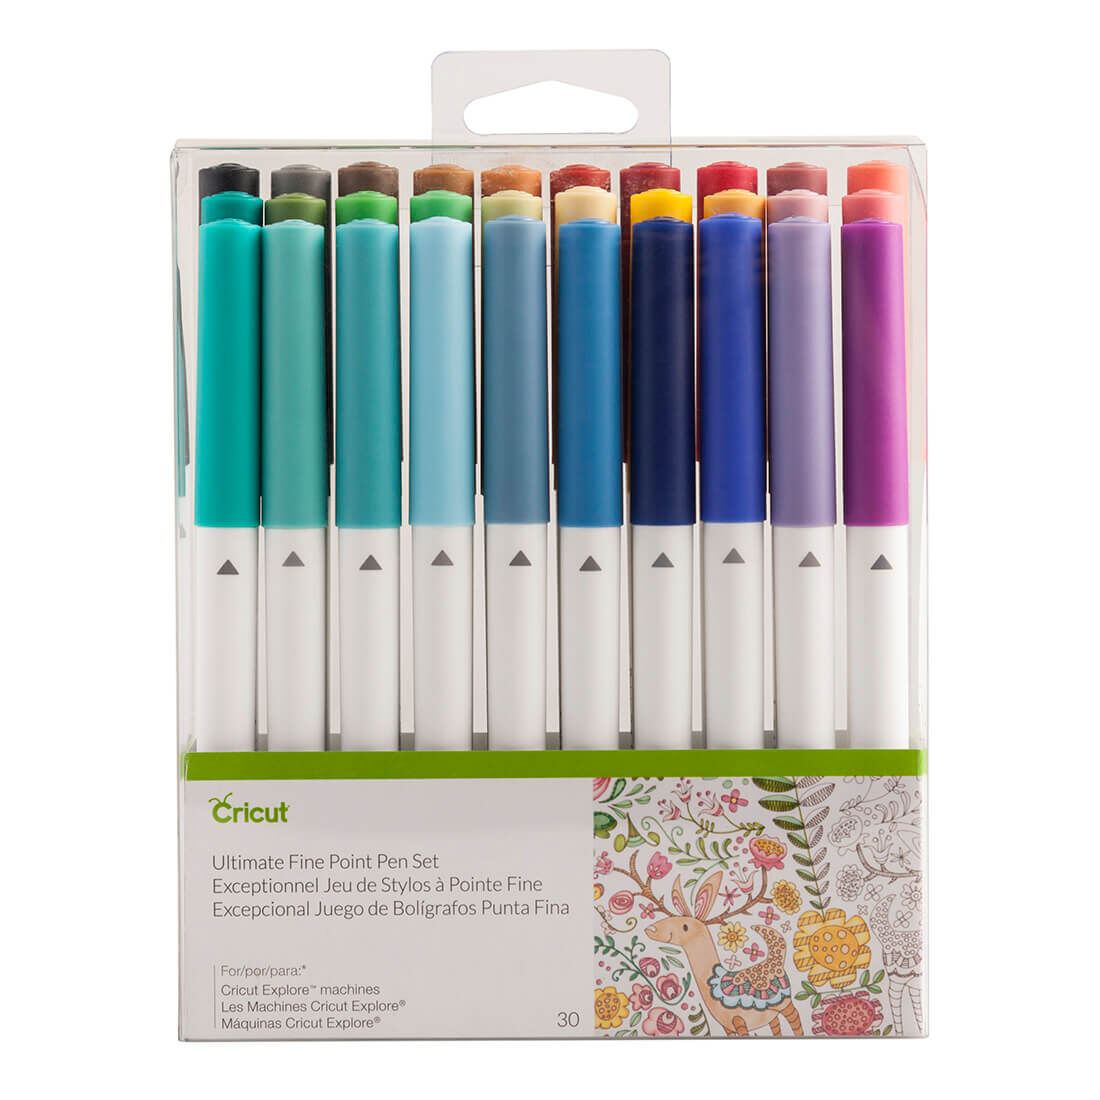
- Cricut 0.4 Fine Point Black Pen OR multi color pens
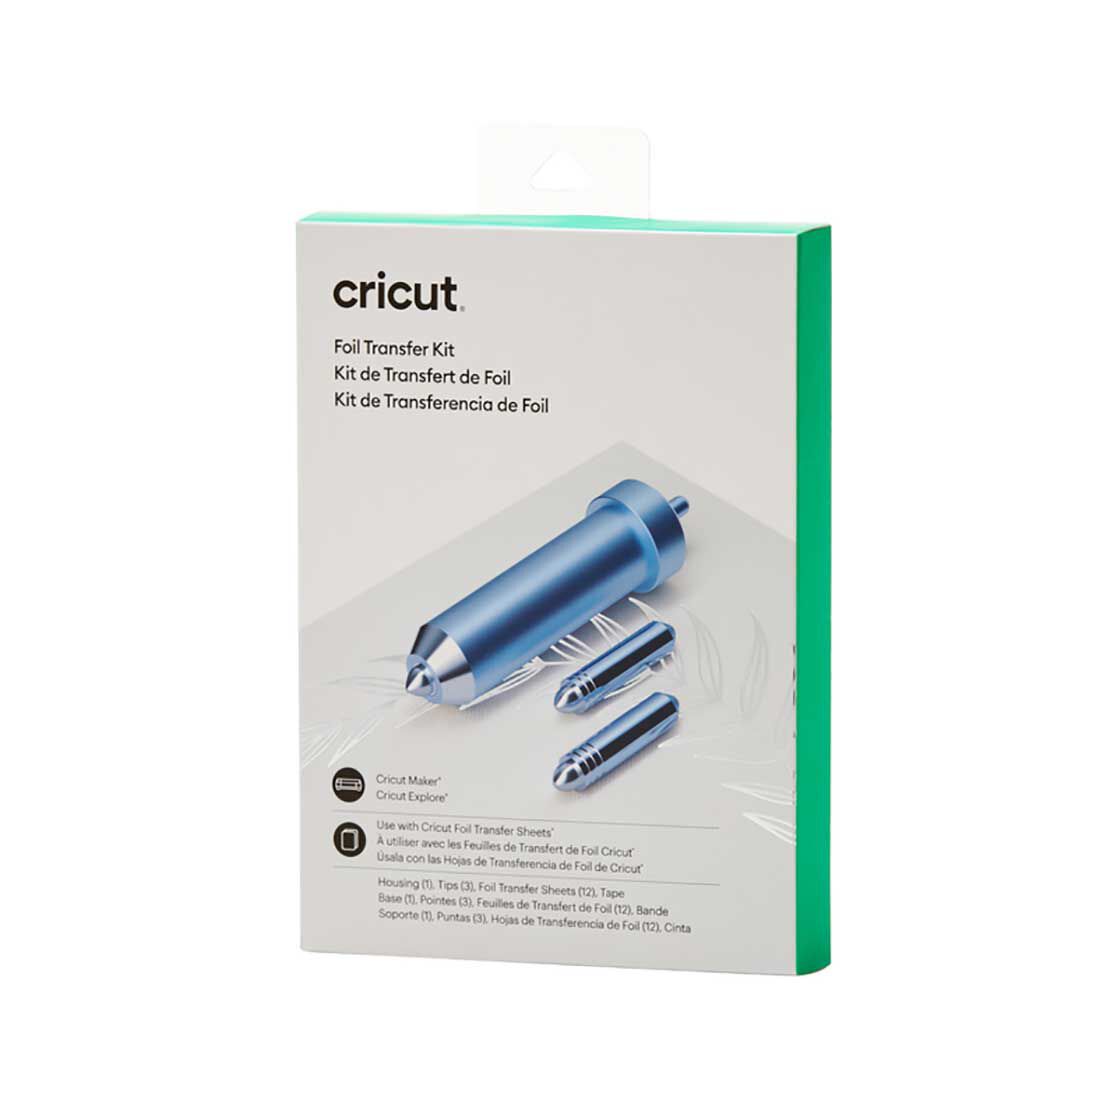
- Cricut Foil Transfer Kit + 12×12 foil sheets
- A permanent tape runner or other adhesive
- Some ribbon or string
You can create layered tags like I did with two colors of cardstock OR you can just do one layer. Either will come out super cute!
If you’re a beginner with your Cricut and don’t have the foiling kit, I think you’ll find that the Cricut pens are quite easy to use and can produce some really cute results. There are some hacks floating around the internet for using other brands of pens in your Cricut, but I prefer sticking with the Cricut brand pens to keep the results fairly foolproof. They come in tons of different colors too!
Cricut Christmas Tags – Pick Your Design:
Open the project in Cricut Design Space if you haven’t already. Inside the project, you’ll find both the foiled and drawn tag versions. Highlight and delete the ones that you don’t want to make and change any pen or foil settings you need to – the foil is defaulted to medium, and the pen is defaulted to black 0.4 Fine Point pen.
these also came out super cute when made with a glitter gel pen!
Load Your Materials & Cut:
Place your smooth cardstock on the cutting mat. If you’re crafting foiled tags, tape the foil transfer sheet (shiny side up) to the cardstock. For the foiled version, follow the Cricut’s prompts to insert the foil transfer tool with the medium setting. If you’ve chosen the drawn version, keep the blade in the Cricut and insert your preferred pen.
Watch the video to see my exact method for taping the foil sheet down taught
Remove Foil (For Foiled Tags):
If you’re creating foiled tags, gently remove the foil transfer tool and insert the blade. While the mat is still in the Cricut, carefully lift the tape to take off the foil, following Design Space’s instructions to avoid any issues.
Cut Backers:
To add an extra touch of color, cut out backers for your tags. This step is optional but I love the way it makes the colors pop!
Assemble Your Tags:
Assemble the tags by using a tape runner to apply adhesive to the back of your tags. Take your time lining up the tags with the backers, ensuring perfect hole and bottom alignment. Press the tags onto the backers firmly to secure them together.
The Final Touches:
Complete your Christmas tags by threading a pretty ribbon or string through the hole, and then they are ready for gifting! I love making Cricut Christmas tags every year to match my wrapping paper. You could easily stick to a theme with this project by choosing all one motif, or create assorted tags. I hope you’ve enjoyed this tutorial! Leave a comment letting me know if you use the pen or foil functions with your Cricut! The foiling process can be a bit tricky, but when you get it right it looks so beautiful! The pen function is super easy to use (as long as you’re using the Cricut brand pens, you’ll find very little issues) and gives that extra hand-crafted feel.
